Geofences
Location: Site Model → Geofences (or via floor plan editor)
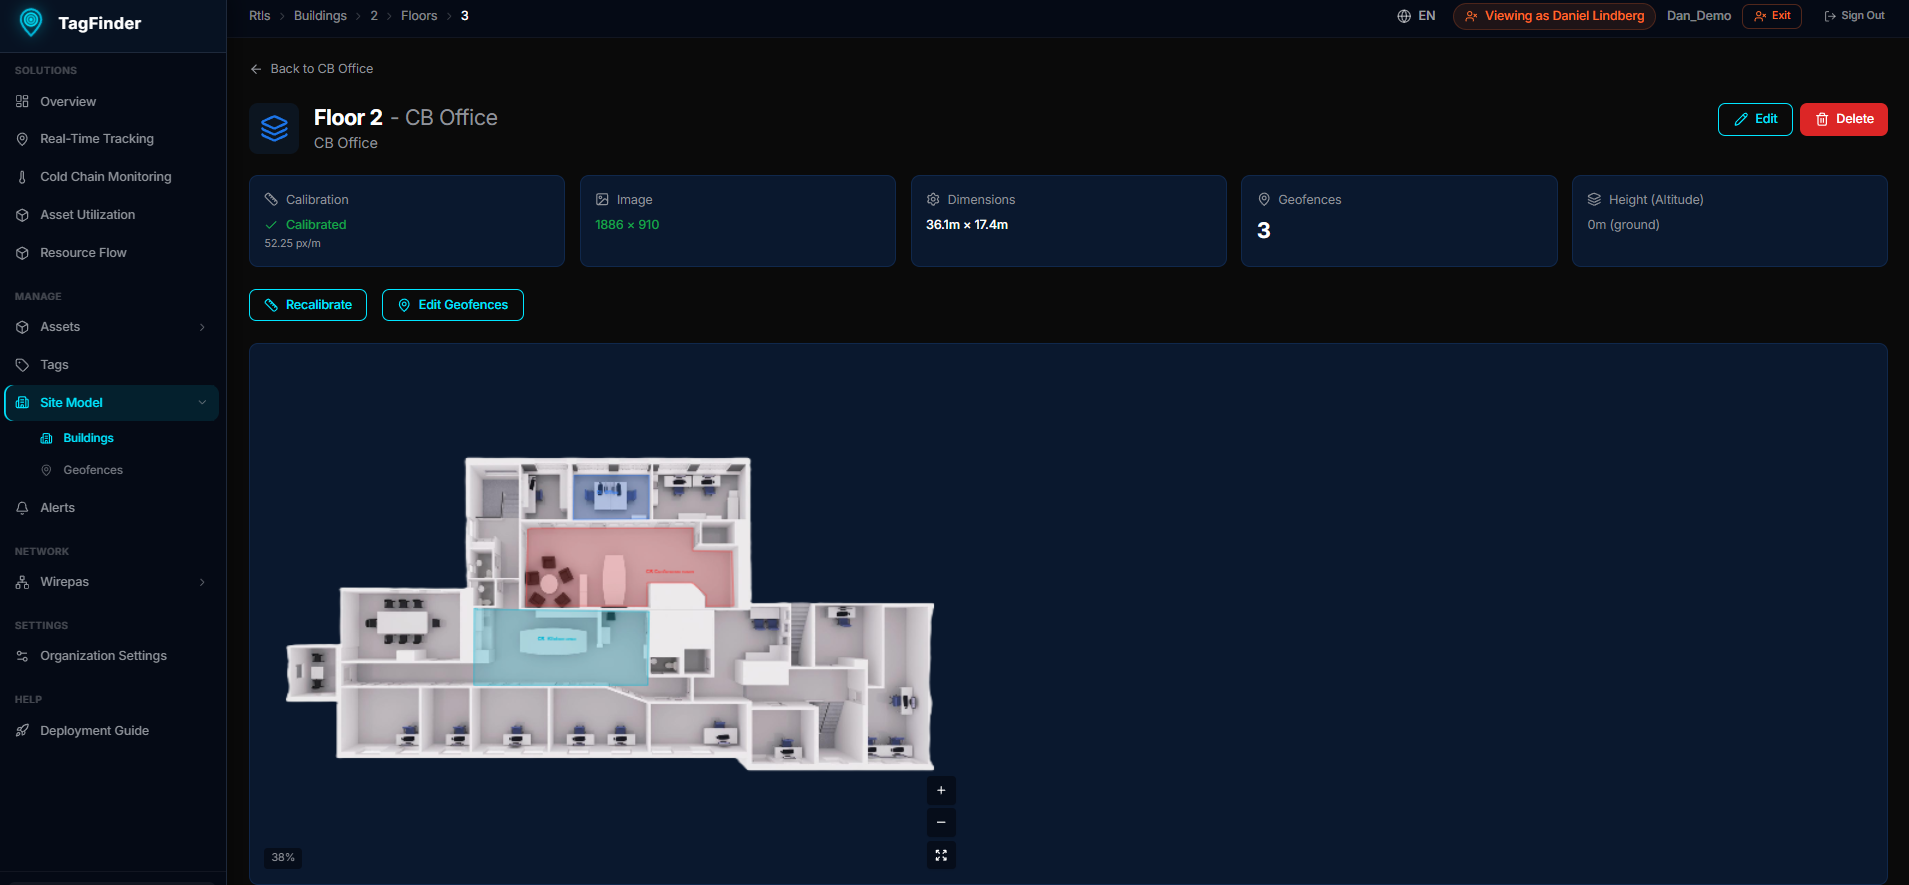 Drawing a geofence boundary on a floor plan.
Geofences are virtual boundaries drawn on floor plans. When an asset enters or leaves a geofence, the system can trigger alerts, log the event, and track time spent in each zone.
Creating a Geofence
- Navigate to Site Model → Buildings → [Building] → [Floor]
- Click Geofences or the geofence tool in the floor plan editor
- Draw the boundary by clicking points on the map to form a polygon
- Name the geofence and optionally set a type (e.g., "Storage", "Production", "Office")
- Save
Geofence Types
You can assign types to categorize geofences:
- Storage — warehouses, cold rooms, staging areas
- Production — manufacturing zones, assembly lines
- Office — administrative areas
- Custom — any label you need
Using Geofences
- Equipment Dashboard → Per Geofence — see time spent in each zone
- Logistics Flow — track movement between zones
- Alerts — trigger notifications when assets enter or leave specific zones
- Movement History — review where an asset has been over time
Tips
Geofence accuracy
Geofence detection depends on position accuracy. For indoor positioning (Wirepas mesh), ensure you have enough anchors for good coverage. Geofences work with both GPS (outdoor) and mesh-based (indoor) positions.